note-taker
Express.js: Note Taker
# Table of Contents
- Description
- Installation
- Usage
- License
- Contributions
- Tests (not available in this project)
- Questions
## Description
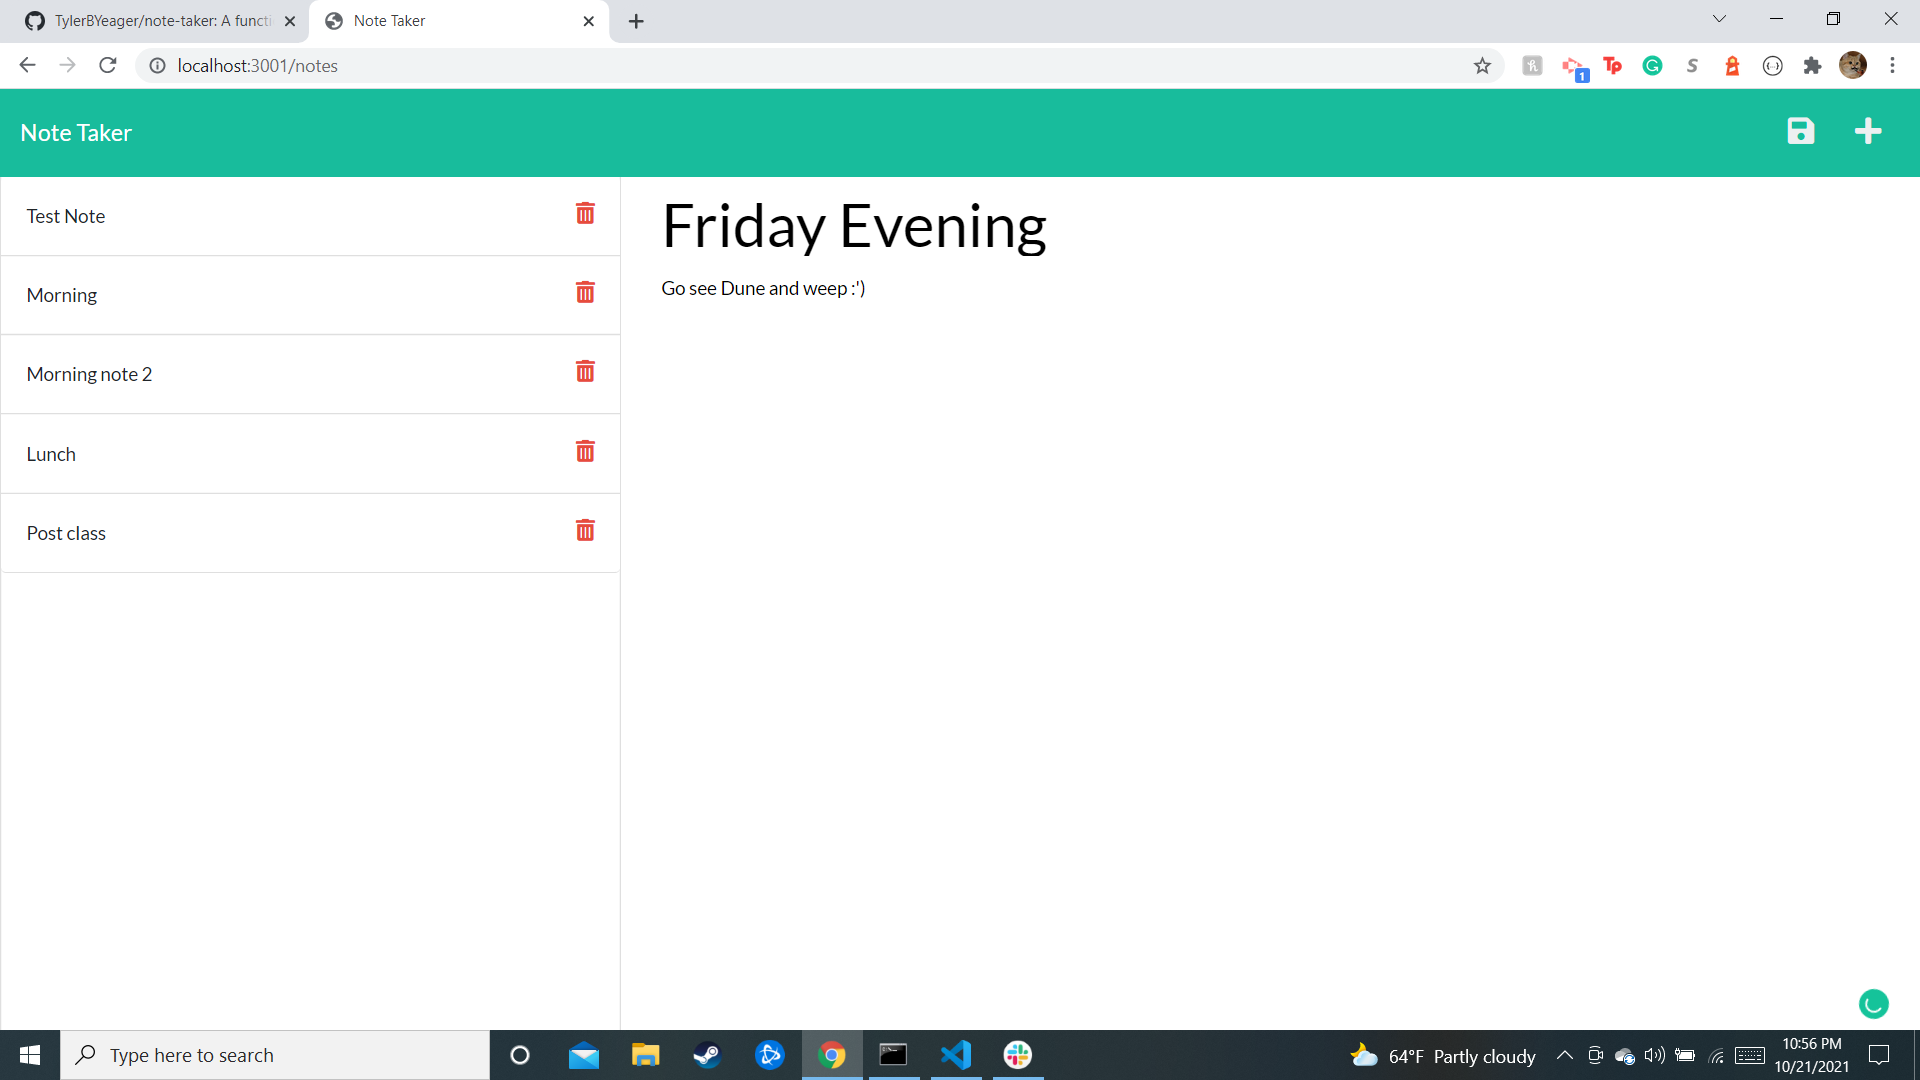
A working Note Taker app. Clicking on the notes button while on the main index.html page will redirect the user to a new note.html page. This page allows a user to type in note with a title and save it to the left side. These notes have data persistence (will remain even after the page is reloaded) and can even be deleted if the user so desires!
## Code Snippets Here are some code snippets and what they accomplished. This first code snippet is the entirety of the server.js file! This file imported several tools like express, path, and fs in order to establish a working server for the project to live on. The res.sendFIle with notes.html is what allowed users to redirect to the notes.html page.
  const express = require("express");
  const path = require("path");
  const fs = require("fs");
  const api = require("./routes/index.js");

  const PORT = process.env.port || 3001;

  const app = express();

  app.use(express.json());
  app.use(express.urlencoded({ extended: true }));

  app.use(express.static("public"));

  app.get('/', (req, res) =>
    res.sendFile(path.join(__dirname, '/public/index.html'))
  );

  app.get('/notes', (req, res) =>
    res.sendFile(path.join(__dirname, '/public/notes.html'))
  );
  app.use('/', api);

  app.listen(PORT, () =>
    console.log(`App listening at http://localhost:${PORT}`)
  );
This next snippet is the entirety of the index.js page. This file served as a sort of middleware that connected the notes.js page to the live server.
  const express = require("express");

  const notesRouter = require("./notes");


  const app = express();

  app.use("/api", notesRouter);

  module.exports = app;
Lastly, this snippet is just a small part of the notes.js file. The beginning lines of code are used to import various tools as well as the db.json database file. This file was placed in a variable that was then used throughout notes.js to receive the information submitted on the front end, save it to the database on the back end, and then display the newly updated page. The appendNotes function is what actually wrote everything to the db.json file.
  const app = require("express").Router();
  const fs = require("fs");
  const path = require("path");
  const notes = require("../db/db.json");


  app.get("/notes", function (req, res) {
      res.json(notes);
  });

  app.post("/notes", function (req, res) {
      let newNote = req.body;
      notes.push(newNote);
      console.log(notes);
      appendNotes();
      res.json(notes);
  });
## Installation To install:
Once you have a working SSH key added to your Github account, go to the note-taker repository. Click the green "code" button on the top right and clonecopy the @github.com link with the SSH key option to your clipboard.
Next,
  Open Gitbash or Terminal and navigate to a directory that you would like to add the cloned repository. Once in your desired directory type in
  "git clone 'right click to paste'" and press enter. This will clone the repository onto your personal machine.
Lastly,
Type 'ls' into your Gitbash or Terminal to see a list of items within the directory. If you have done the previous steps correctly then you should see a respository titled "note-taker". Simply type in "code ." to open it in your code editor of choice and have fun!
## Usage Any user can access this generator to create a fairly basic stylized html that contains card elements showing the inputted employee information. This code can be tweaked to include additional information if required.
## Built With
## Deployed Link
Authors
-
Tyler Brian Yeager
- Link to Repo Site
- Link to Github
- Link to LinkedIn
Contributions
- UC Berkeley Coding Bootcamp & my pair programmers this week
- BCS learning assistants helping me get “unstuck” and gain a better understanding in the process
License
![]()
Questions
- wow_d2@hotmail.com